Organization and Workspace Resources
Managing content in Rendered.ai requires understanding the distinction between Organization-level and Workspace-level resources. These items -- such as Channels, Volumes, GAN Models, and Annotation Maps -- can be created, modified, deleted, and shared across organizations.
Organization-Level Resources
Organization-level resources are either owned and managed by the organization or the organization has been permitted to use the resource by another organization. For example, an organization may have two channels available: one owned by a content organization and shared with your organization, and one owned by Rendered.ai and shared. The organization cannot modify or delete a shared channel -- they can only remove it from their organization.
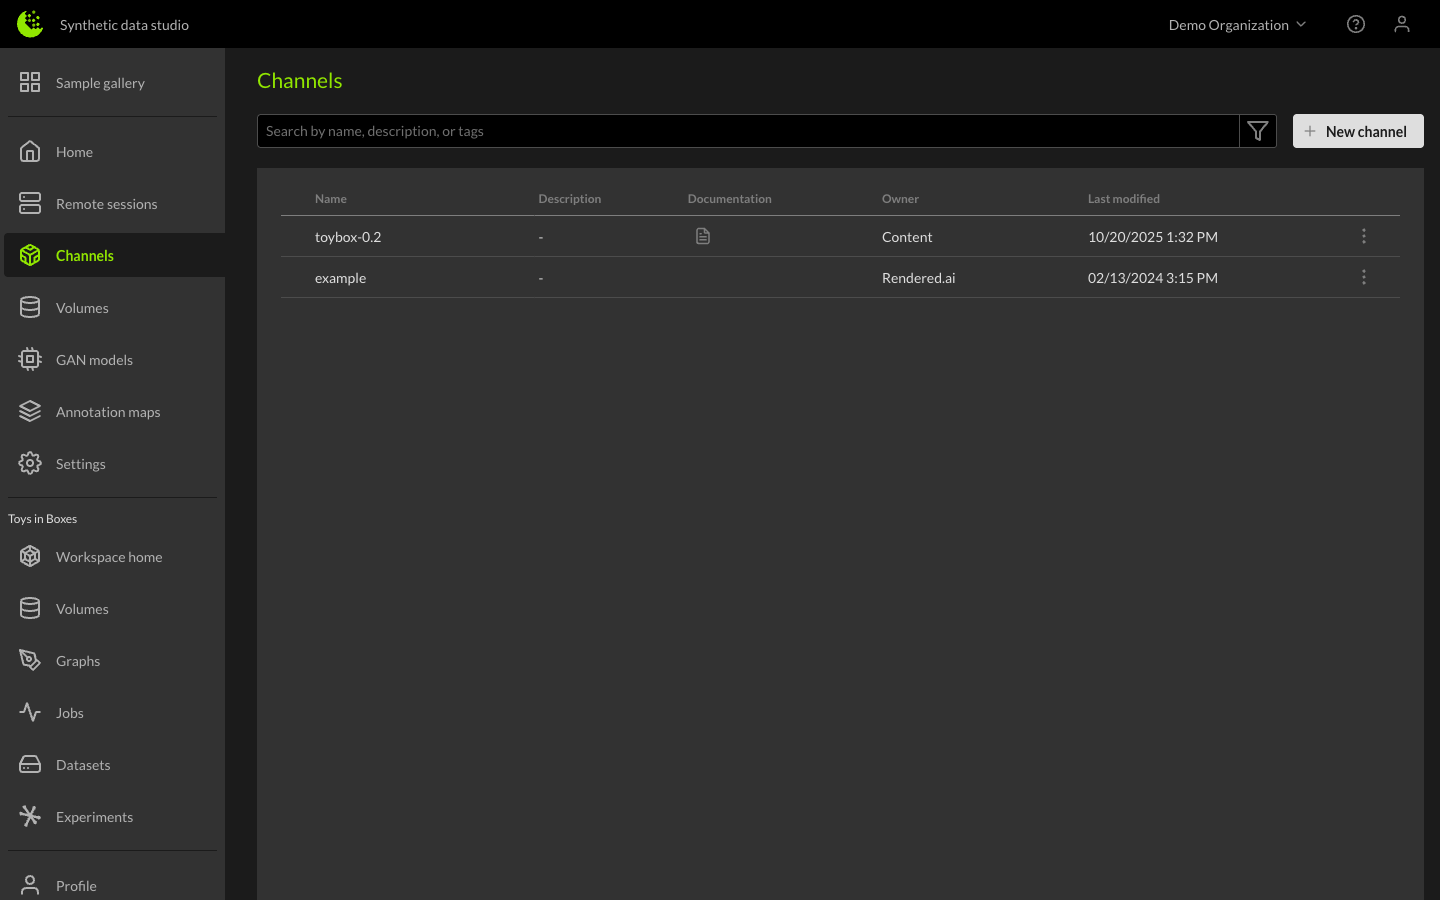
Creating Channels
Organizations can create new channels via the New Channel button. The channel name and timeout are the only required fields. The channel name must be unique to channels that your organization owns. Once created, owned channels display Edit and Delete options.
Managing Workspace Resources
Workspaces function as projects on the Rendered.ai platform, where you can gather the required resources to solve a problem or use-case. There are two methods for managing which organization resources are available in a workspace.
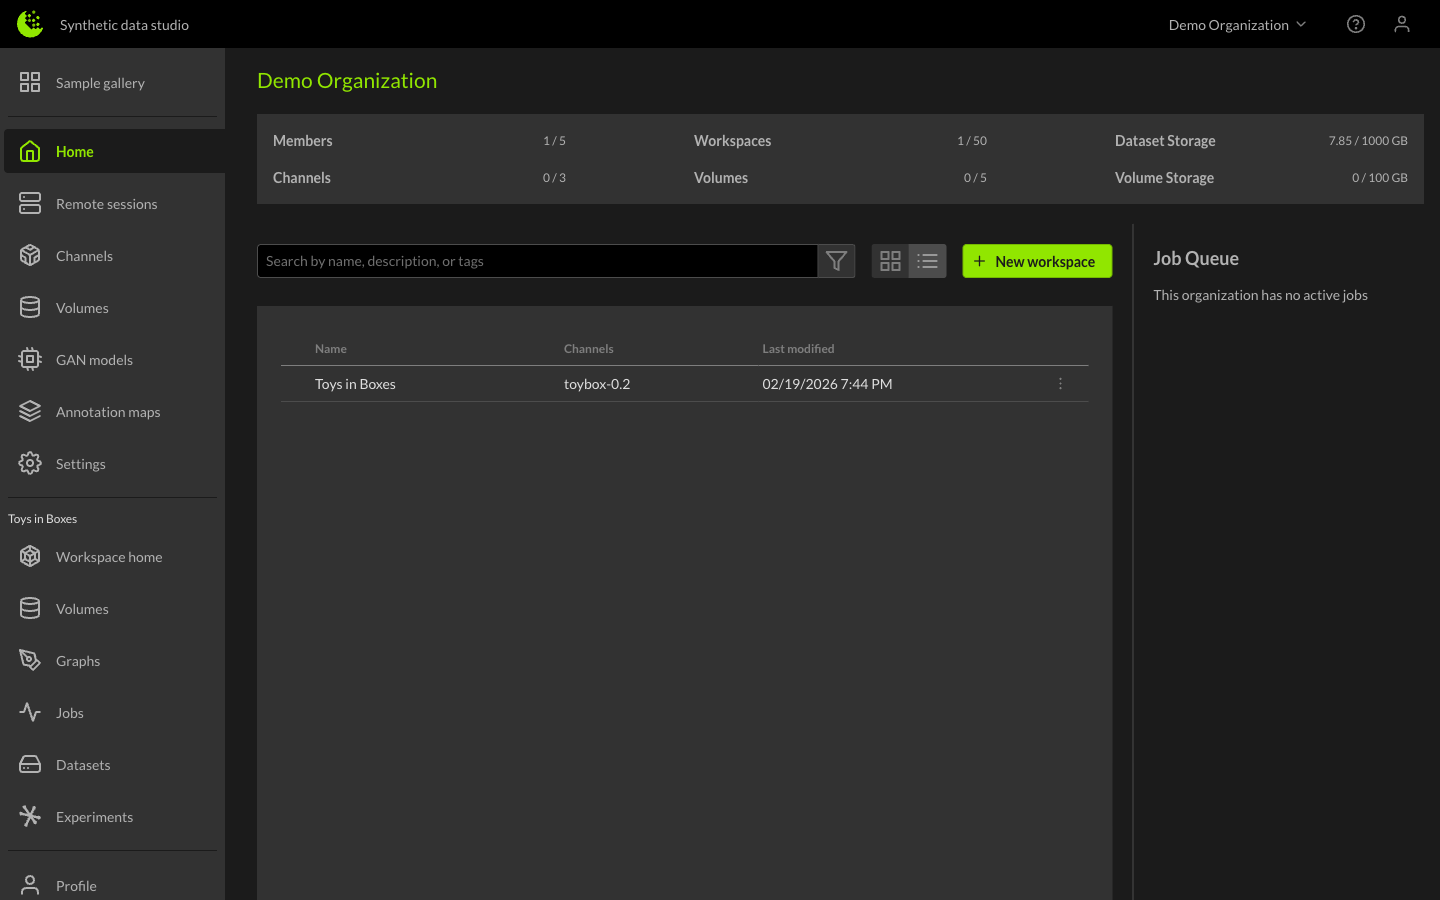
Method 1: The Workspaces Table
Access the Workspaces table through the organization's Workspaces tab. Click the three-button menu icon next to the workspace you want to manage, and select Resources.
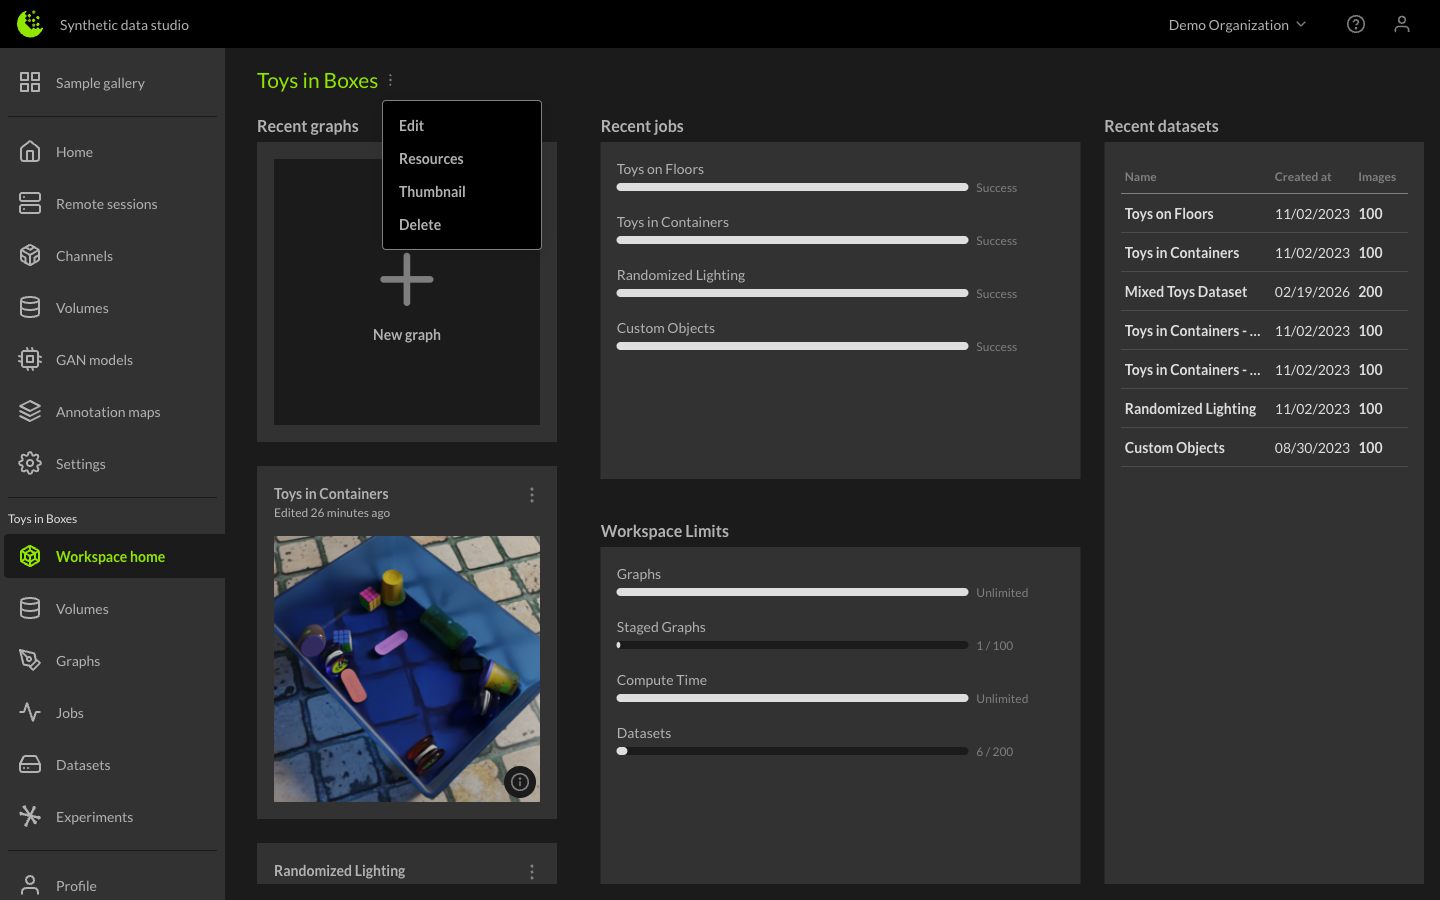
Method 2: The Workspace Page
Navigate into the workspace and use the three-button icon next to the workspace name, then select Resources.
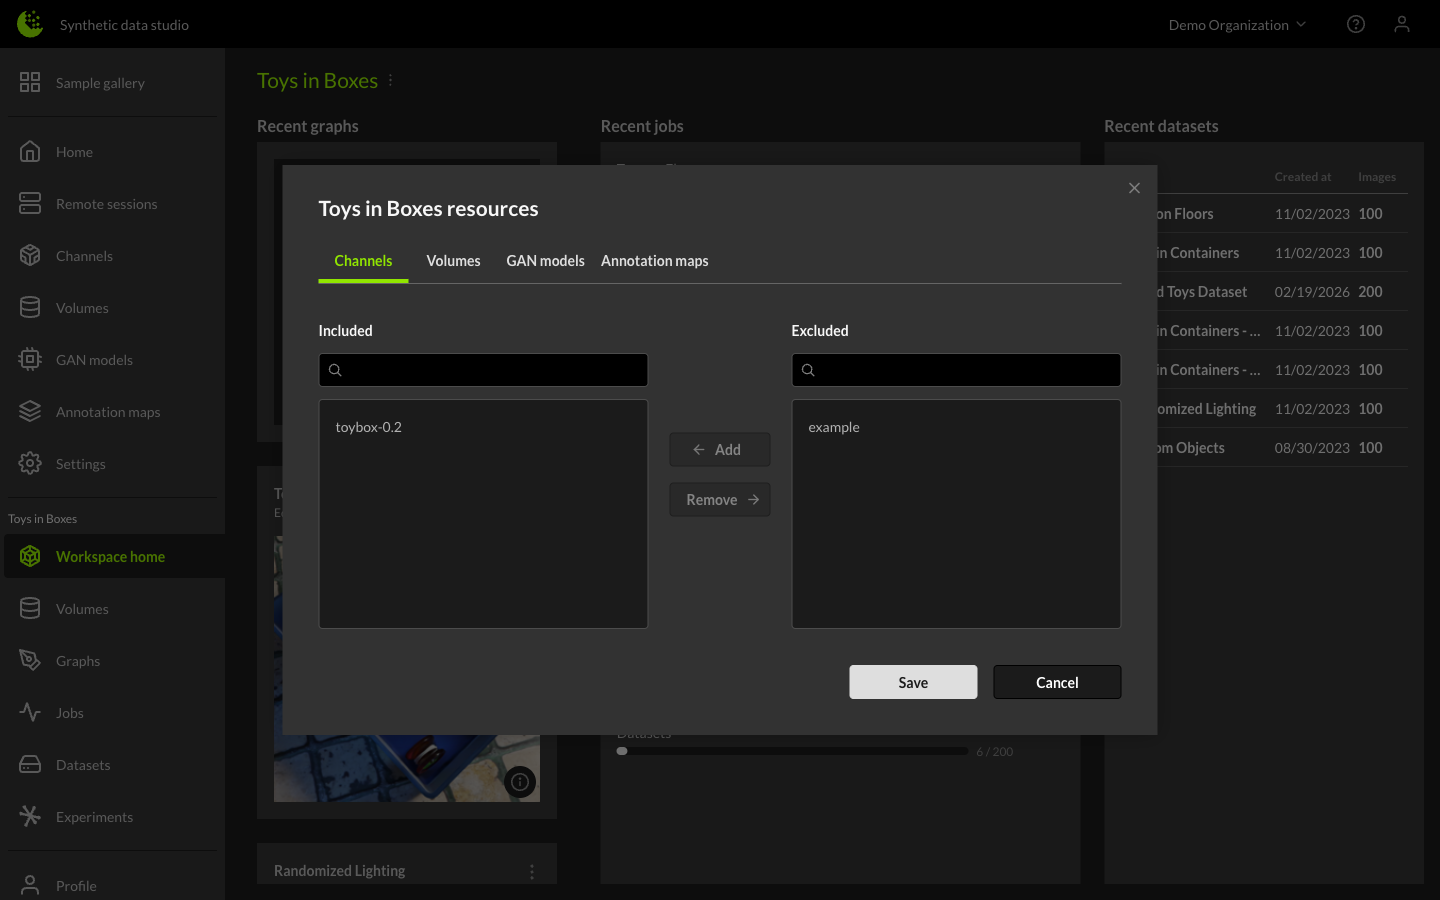
After selecting Resources using either method, you will see the Workspace Resources dialog. From here you can navigate between resource types (Channels, Volumes, GAN Models, and Annotation Maps) and include or exclude resources for the workspace. Note that you must click the Save button for changes to take effect.
Additional Resources
For more information on related topics, see: