Creating and Using Volumes
Volumes contain data that is used by a channel such as 3D models and other content. Most channels include built-in volumes that provide basic content for graphs. Users can also create their own volumes so they can add custom content to their graphs.
Creating a New Volume
To create a new volume, navigate to your organization's Volumes table then click on the New Volume button in the upper right corner of the page.

This will display the New Volume dialog where you can give your volume a name and description. The name is a required field, it must be unique in your organization.
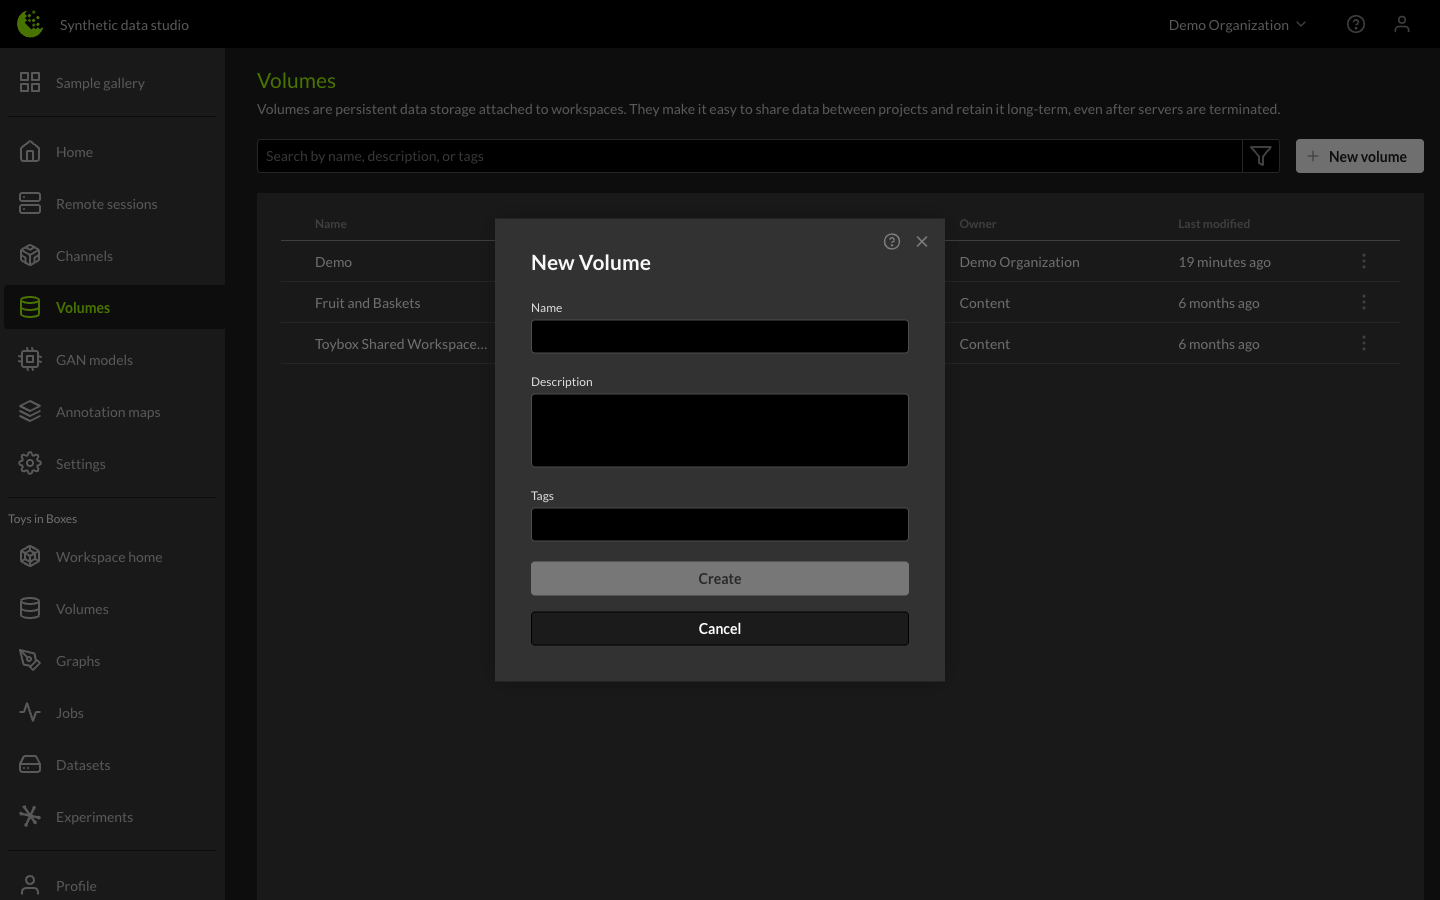
Click Create to create the new volume. It should now show up in the list of volumes for your organization.
Adding a Volume to a Workspace
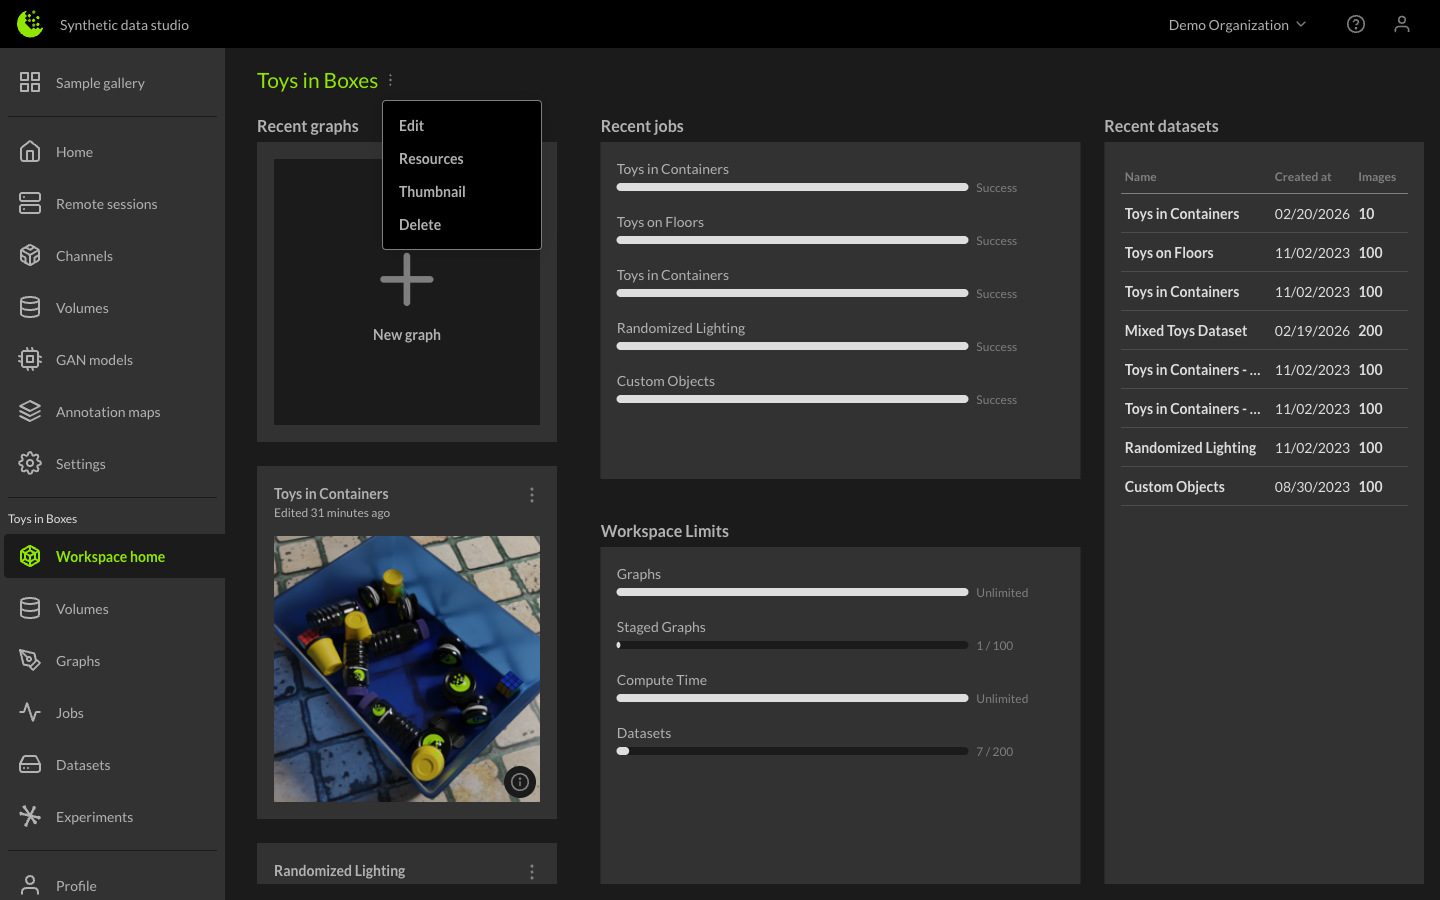
To add the new volume to a workspace, navigate to the Workspace, click the three-dot icon and select Resources. This will open the Workspace Resources dialog.
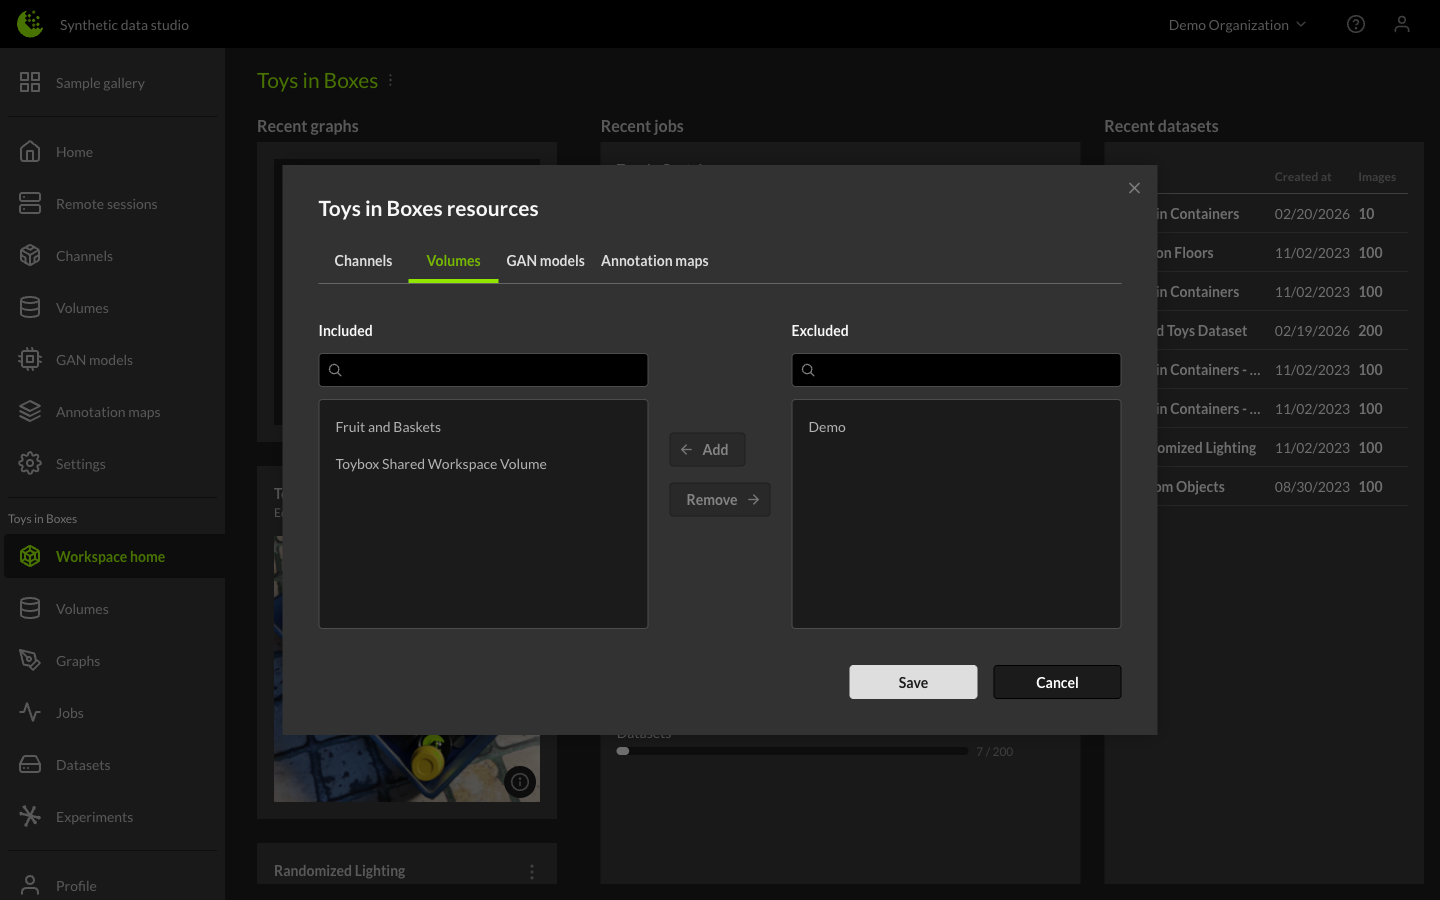
Next, click on the Volumes tab of the dialog. Move the newly created volume from the Excluded column to the Included column. Click the Save button to add the volume to the workspace.
Adding Content to a Volume
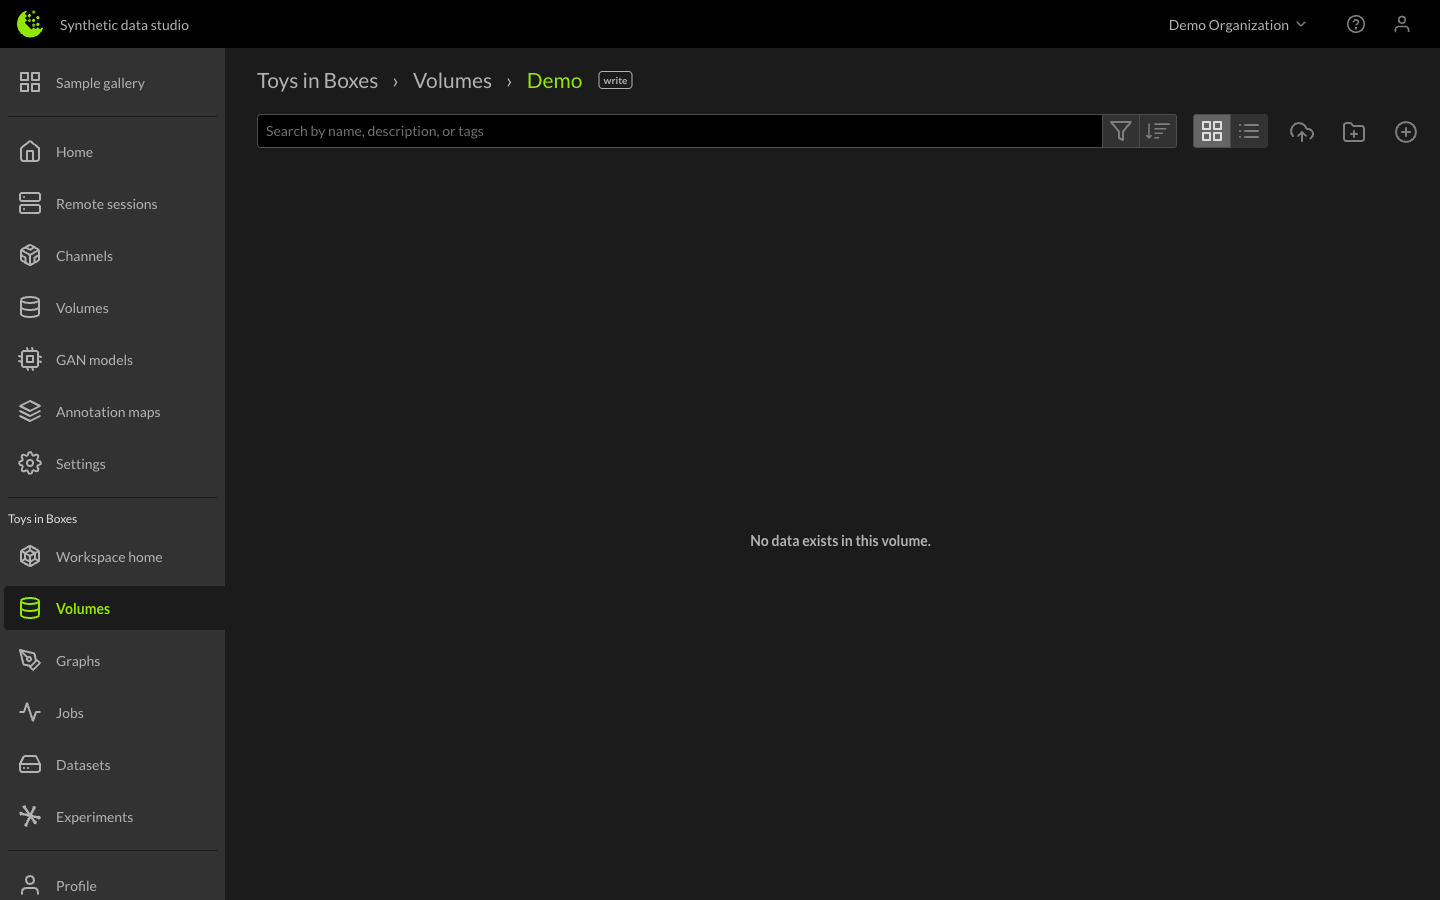
To add content to the new volume, click the Volumes tab in the left sidebar of the Workspace, then click on the name of the new Volume. For this example, it is called Demo.
This should drop you into the Demo volume. From here we can add new files and manage the current files. Right now the volume is empty because it is newly created and we haven't added any files.
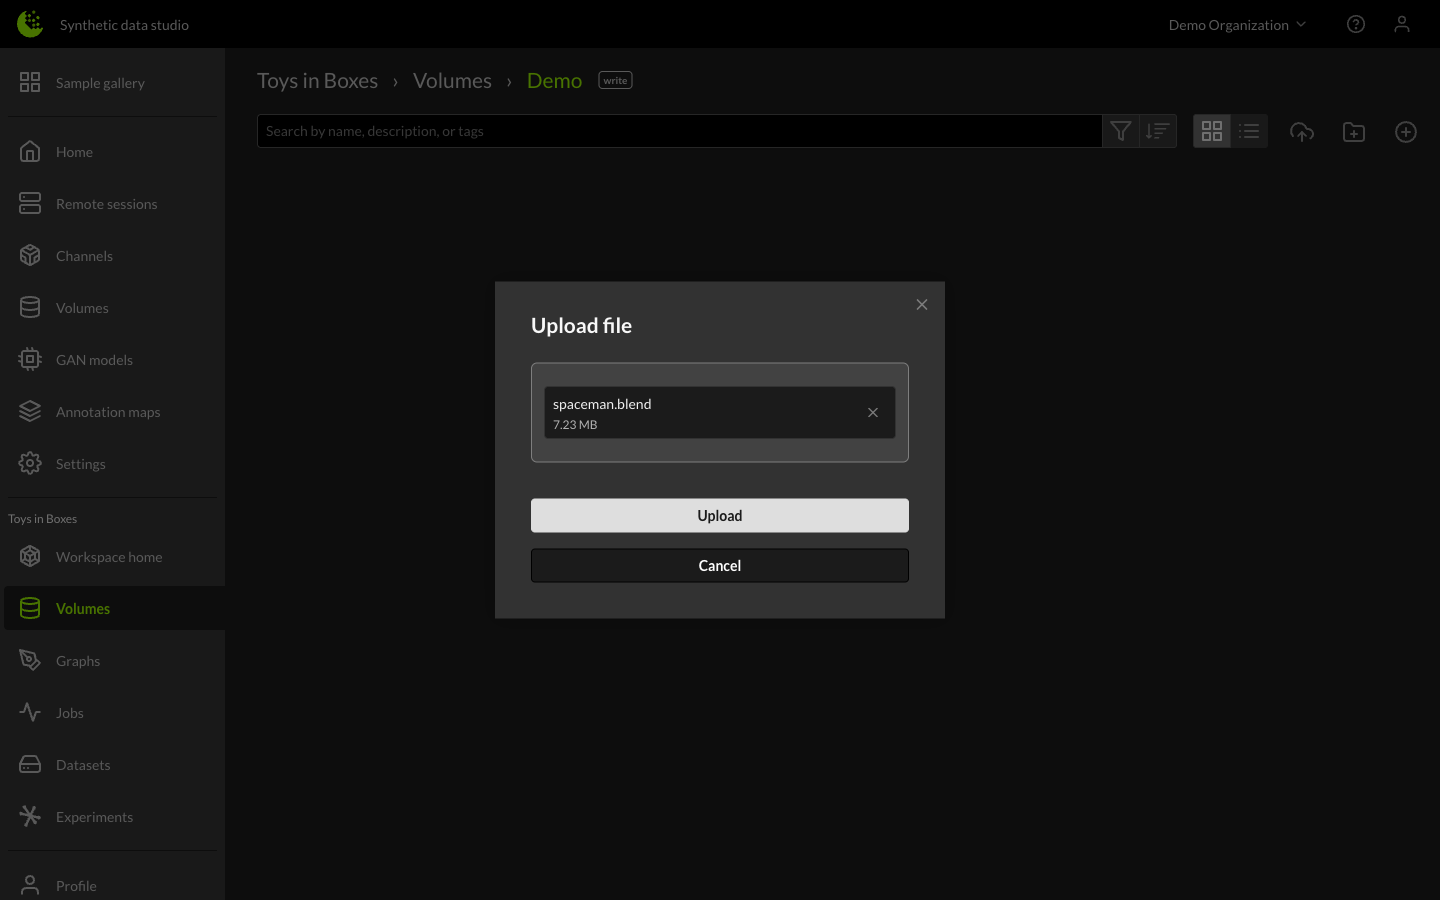
To add new files, click the Upload File button. You can drag and drop a file into the upload area or click to browse for a file, then click the Upload button. The file will be uploaded to the volume.
The new file will show up as a card in the Volume window.
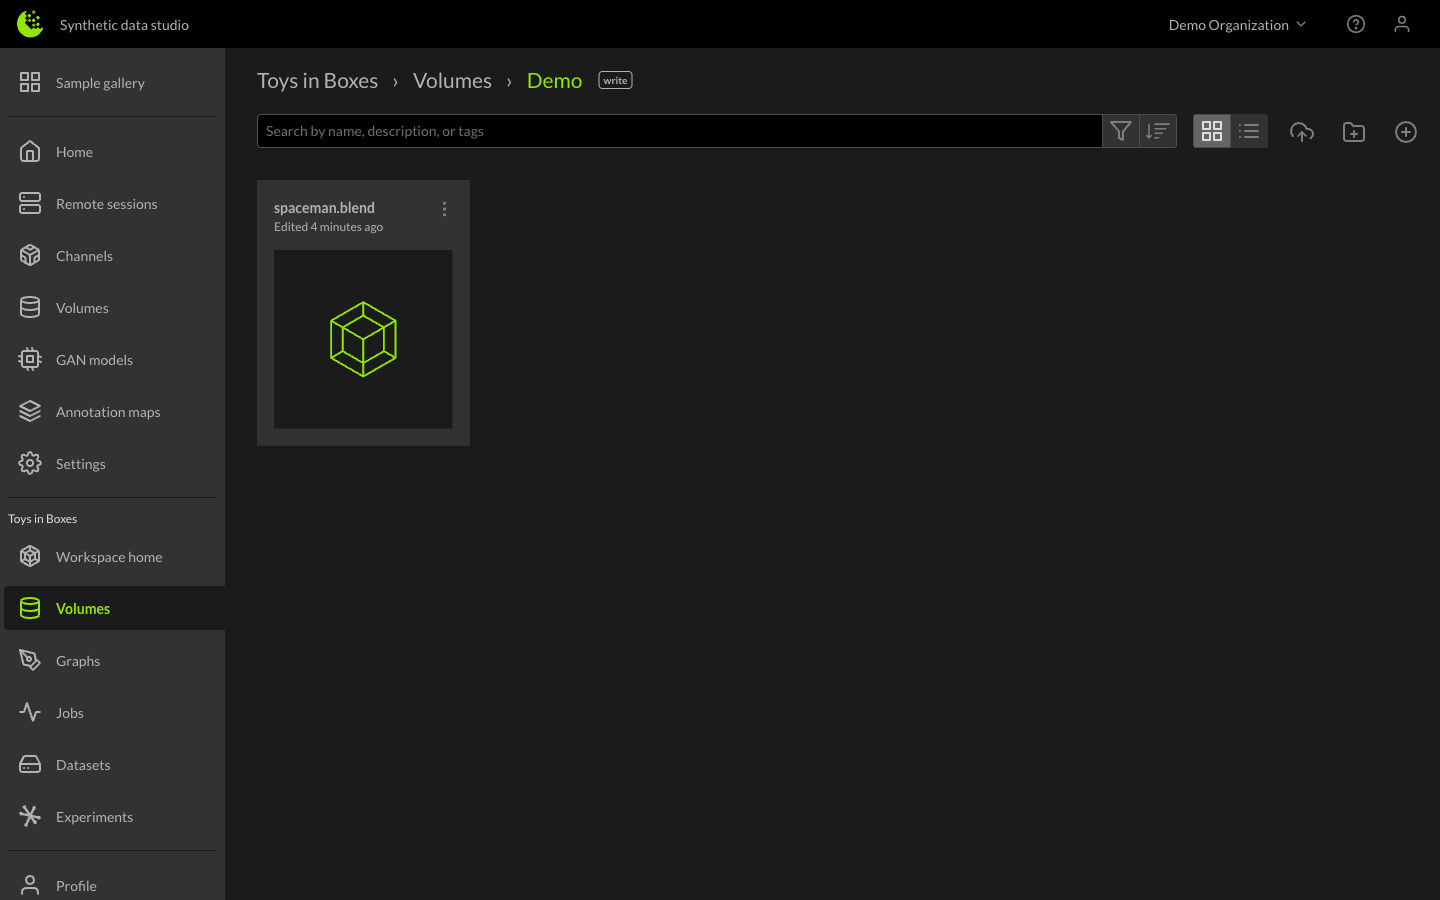
Next we can add this new file to one of our graphs to load the 3D model into a scene.
Adding Content From a Volume to a Graph
To add content from a Volume to a Graph, first create the graph and then click on plus sign in the upper left corner of the page.
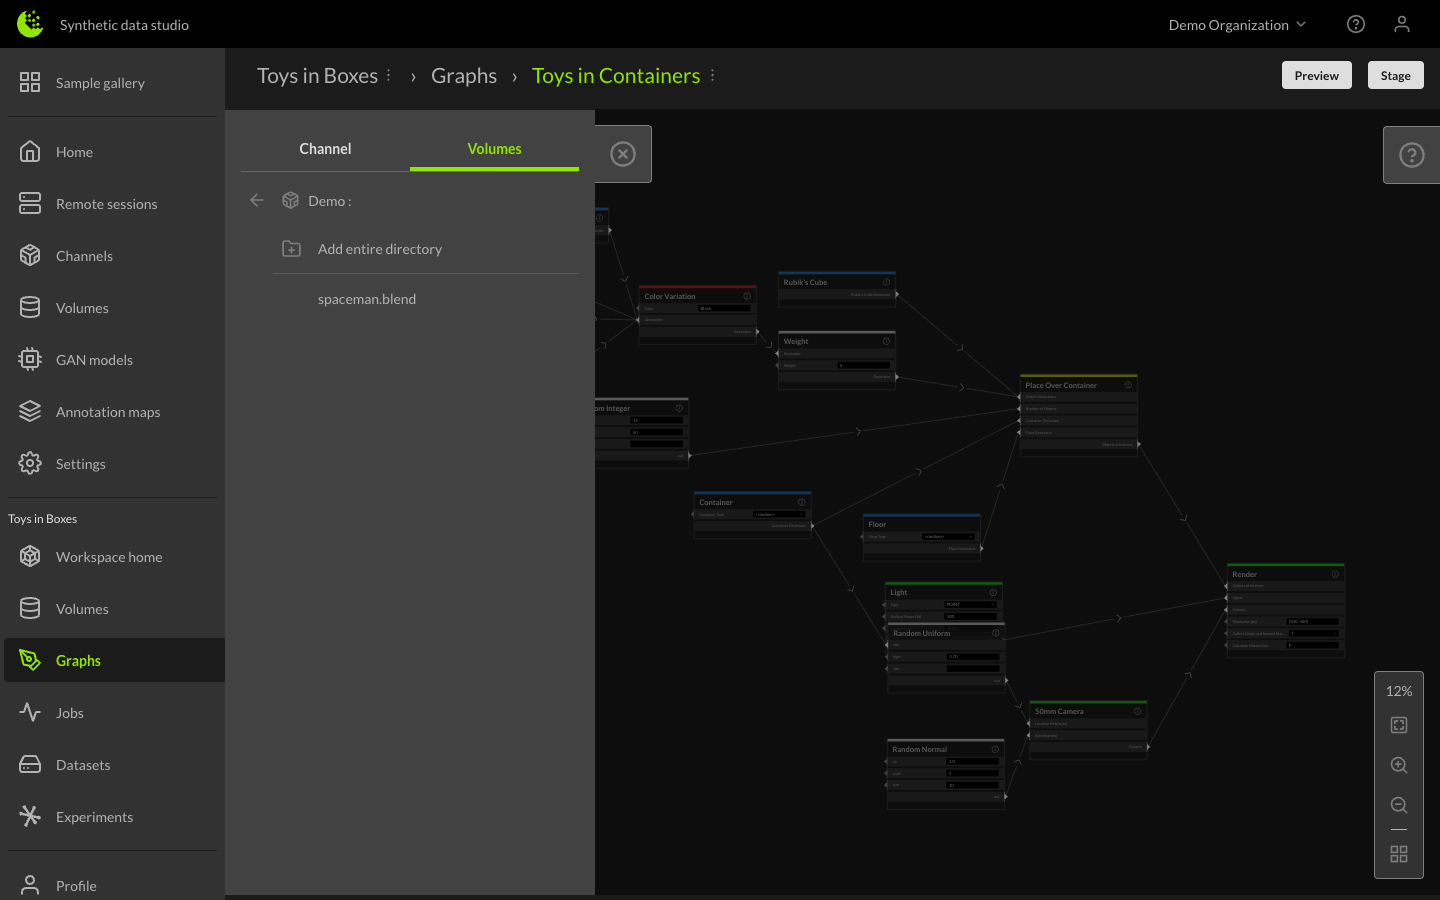
This will display a pop-up with two tabs - Channel and Volumes. Click on the Volumes tab and it will show a list of all volumes you have assigned to the workspace.
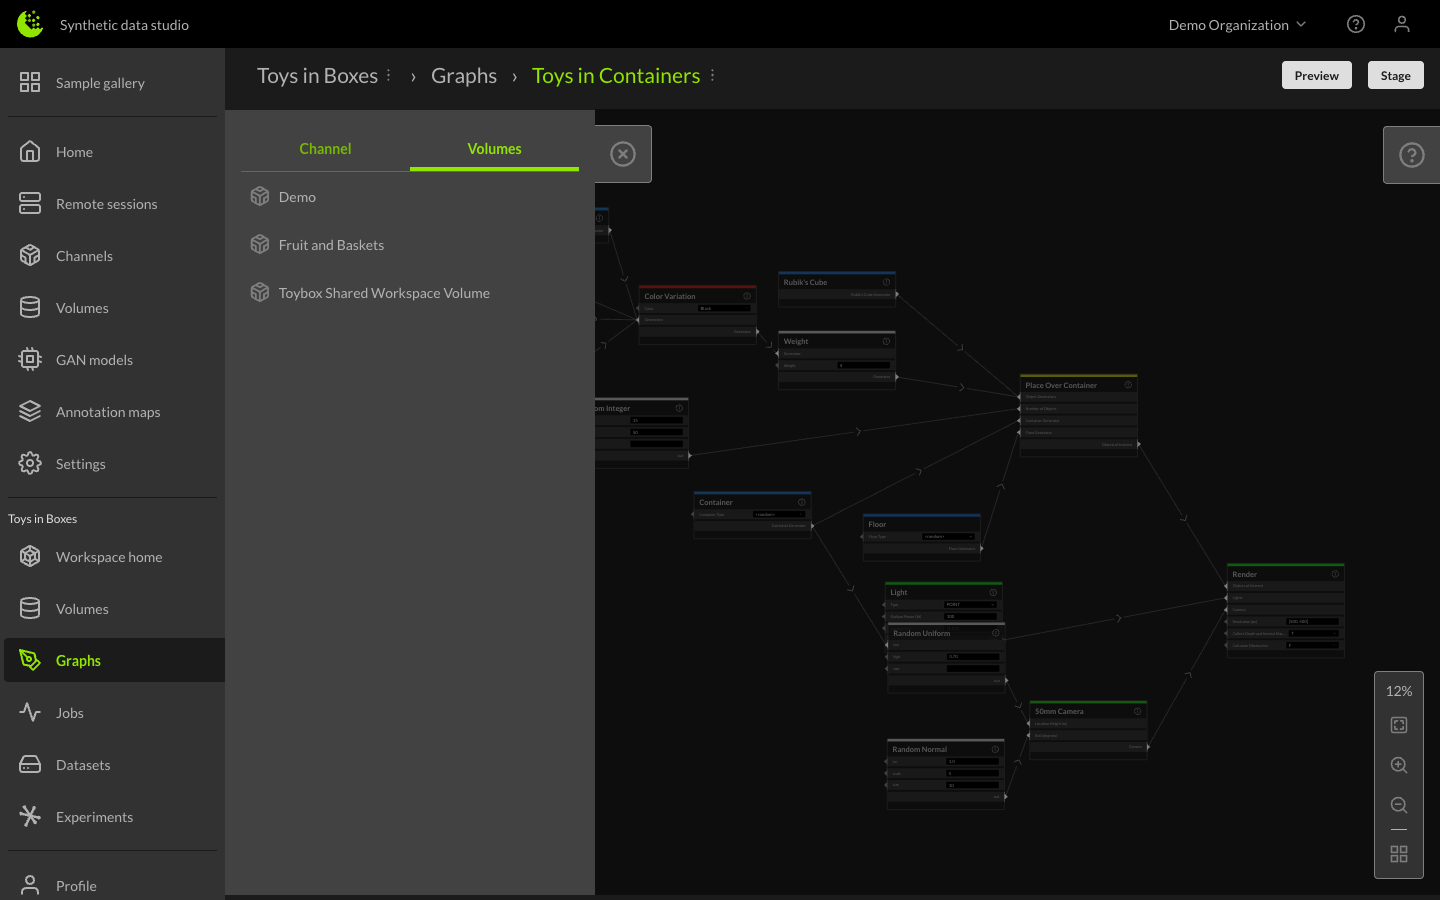
You can drill down into your volume and select a file such as a blender file to be included in the graph. The display will look something like this for the spaceman.blend file we added above.

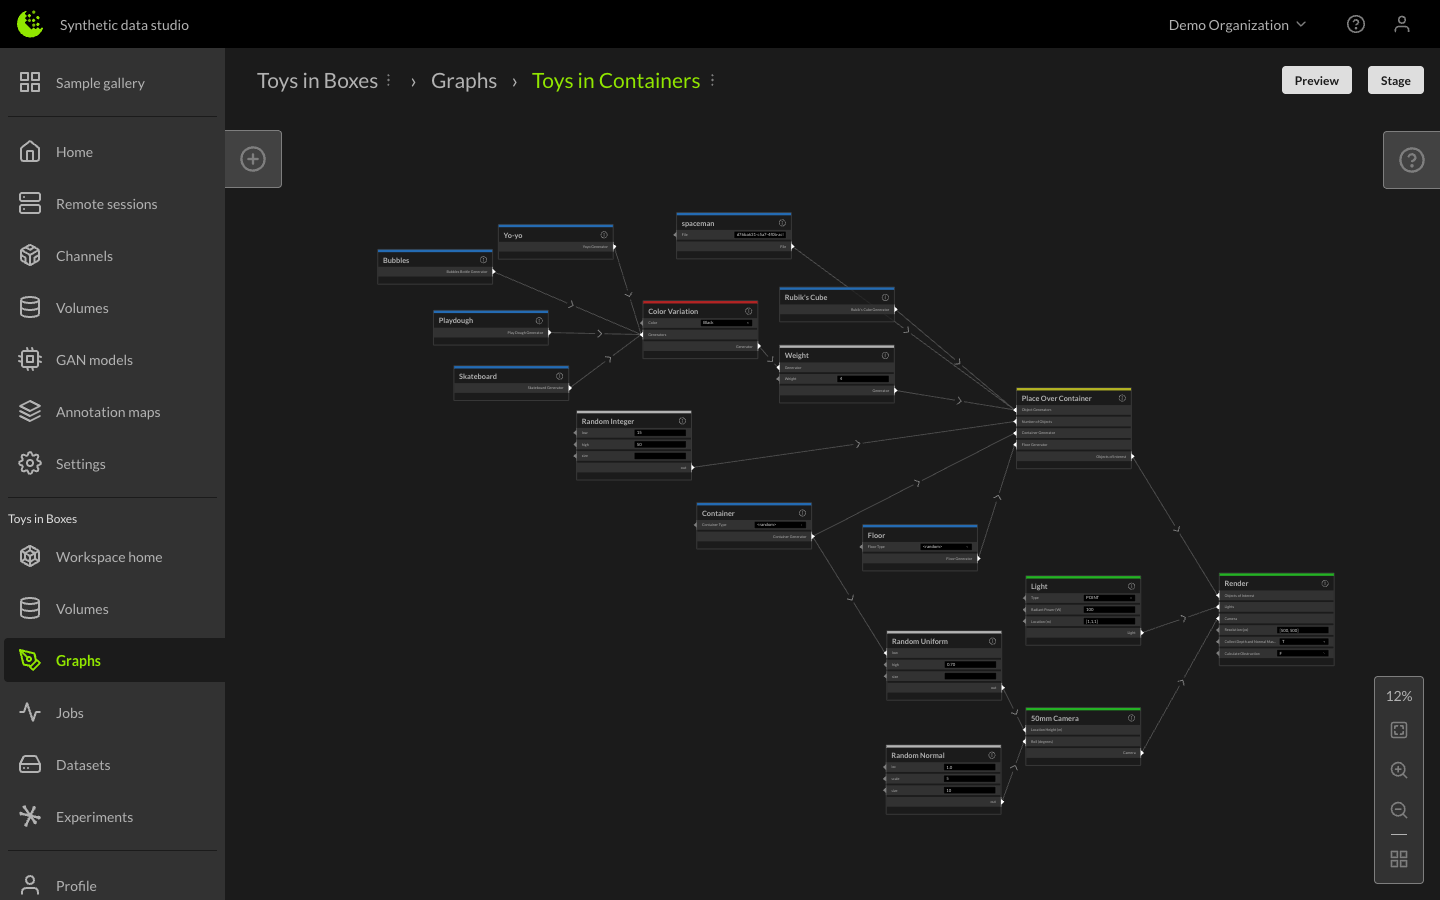
Clicking on the file will add a node to the graph that represents that file. What you can do with the file node and what you can connect it to depends on the type of file and is also channel specific. The Toybox channel supports blender files that represent objects to be placed into the container. We can hook the file node to the Place Over Container node as shown below.
Permissions
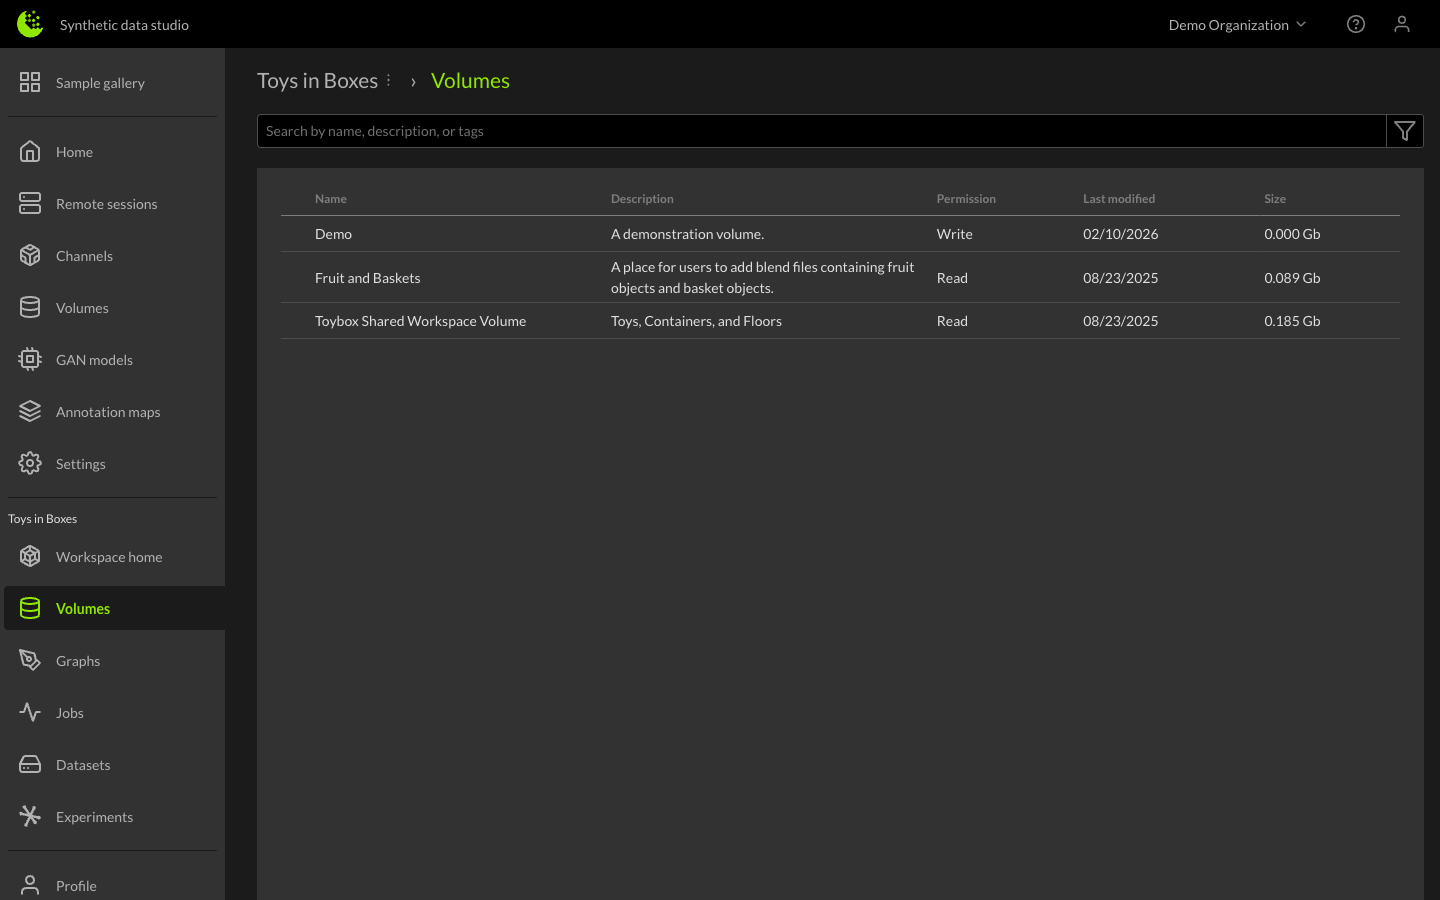
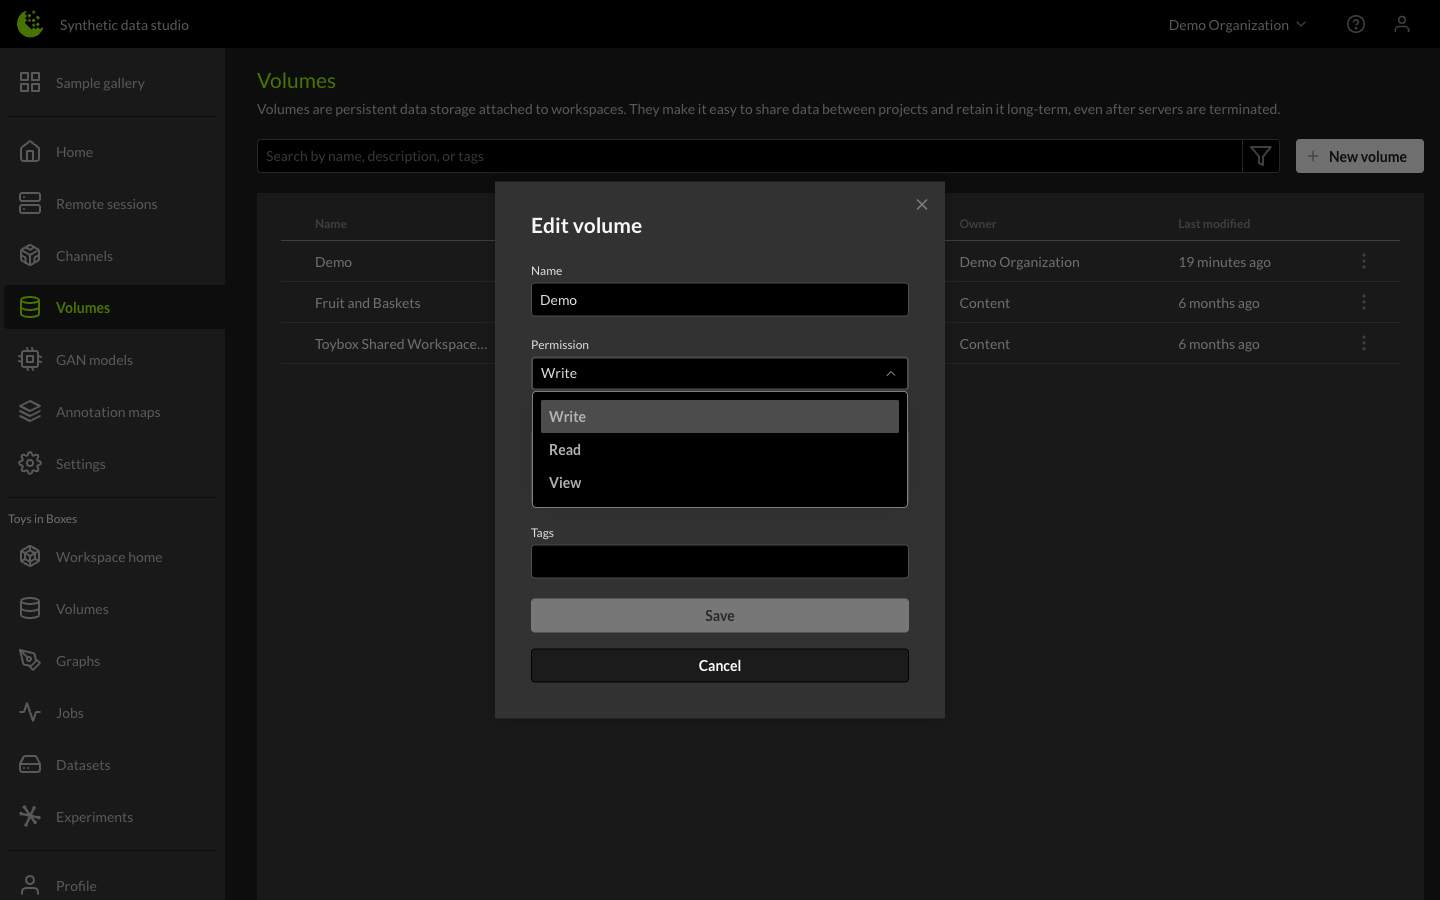
Initial volume creation will default to write permission. Once you have uploaded all items to your volume, you can change the permission by navigating to the organization's Volumes page, clicking the three-dot menu next to the volume, and selecting Edit. From the Edit volume dialog, you can set the permission to write, read, or view.
| Permission | Description |
|---|---|
| write | Organization users are allowed to read, download, add, remove, edit objects in the volume. |
| read | Organization users are allowed to read and download objects in the volume. |
| view | Organization users are allowed to read volumes and only use them in the graph editor. |